
Add to Cart
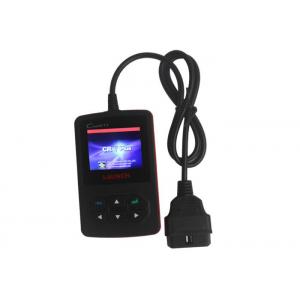
LAUNCH Creader V+ is the next generation of vehicle fault diagnosis tool developed
by Launch, especially for the DIY users and the servicemen of small
service workshop. It supports read/clear DTCs and read datastream. With
built-in help menus and code definitions, diagnosing and repairing that dreaded
Check Engine Light is now easier than ever!
Moreover, Creader V+ also feature the following bi-directional
“special tests”: EVAP, O2 Sensor, I/M Readiness, MIL Status, VIN Info, and On-board
monitors testing.
Notice: Creader V+ may automatically reset while being disturbed by strong static electricity. THIS IS A NORMAL REACTION.
Vehicle Coverage
The Creader V+ is specially designed to work with all OBD II
compliant vehicles, including Control Area Network (CAN).
Diagnostic Trouble Codes (DTCs)
OBD II Diagnostic Trouble Codes are codes that are stored by the
on-board computer diagnostic system in response to a problem found in the
vehicle.
These codes identify a particular problem area and are intended to
provide you with a guide as to where a fault might be occurring within a
vehicle.
OBD II Diagnostic Trouble Codes consist of a five-digit alphanumeric code.
The first character, a letter, identifies which control system sets the code.
The second character, a number, 0-3; other three characters, a hex character, 0-9 or A-F provide additional information on where the DTC originated and the operating conditions that caused it to set.
Here below is an example to illustrate the structure of the digits.
Specifications
Screen: 2.4” TFT, 176*220 dots LCD display
Input voltage range: 9 ~ 18V
Operating temperature: 32°F~122°F / 0°C~50°C
Storage tempetature: -4°F~158°F / -20°C ~70°C @ RH60%
Outline dimension: 120*75*20 mm (L x W x H)
Weight: <17.6 oz (500g)
Accessories
1) User’s Manual -- Instructions on tool operations
2) USB cable -- Connect to a computer for upgrading online
Power supply
The power of the Creader V+ is provided via the vehicle Data Link
Connector (DLC). Follow the steps below to power it up:
1) Find DLC on vehicle
A plastic DLC cover may be found for some vehicles and you need to remove it before plugging the OBDII cable.
2) Plug the connector at the end of OBD II cable to the vehicle’s
DLC.
